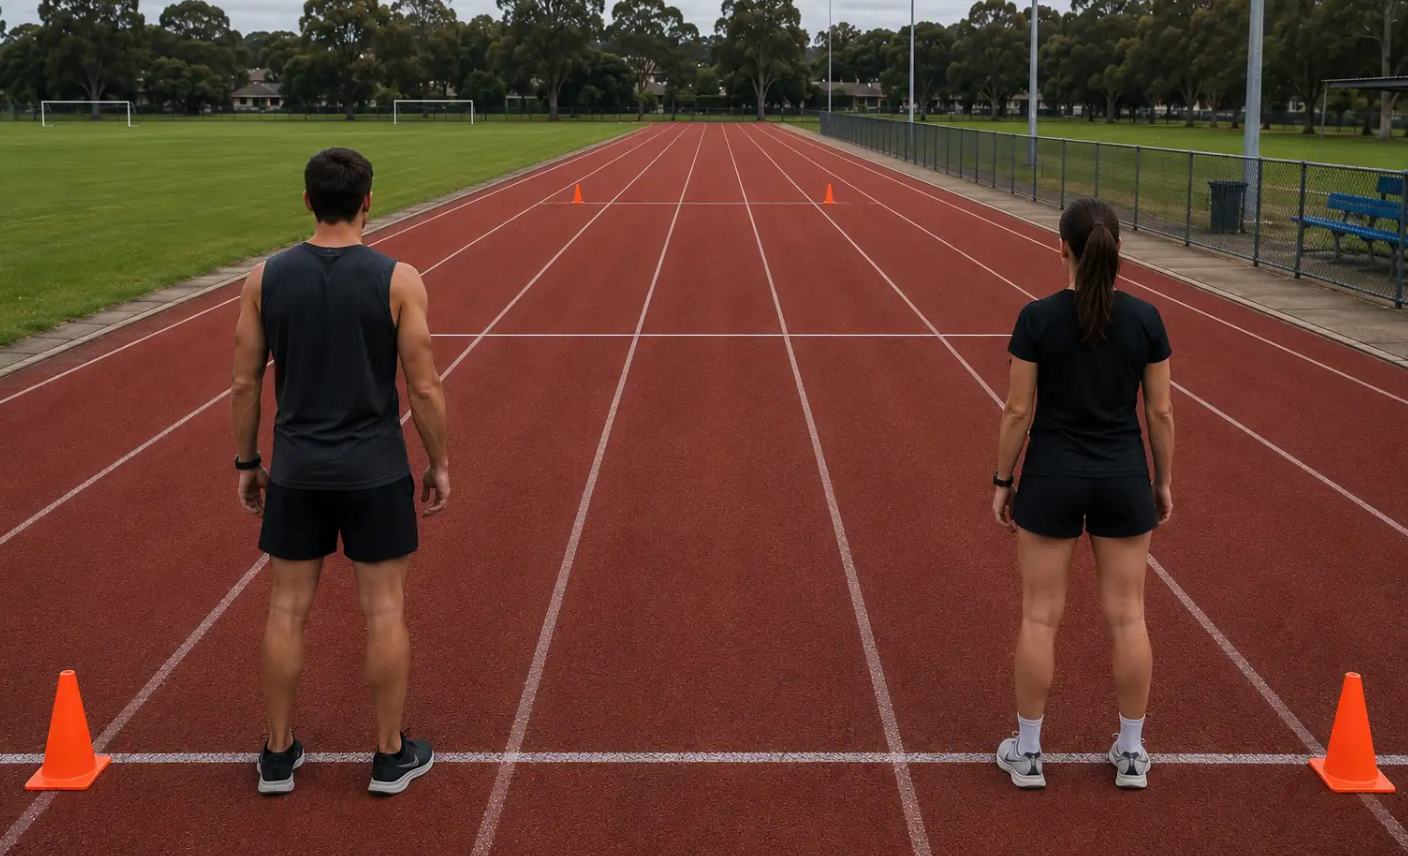
The PACER test measures how well a person can sustain repeated running efforts as the required pace increases. Commonly used in school physical education programs, it challenges participants to run between two marked lines while keeping up with audio signals.
The early stages are relatively easy, but each new level gives runners less time to cover the same distance. Unlike a timed mile or a straight-line sprint, the PACER combines aerobic endurance, pacing, and repeated changes of direction.
Cardiovascular fitness plays a major role, but efficient turns and familiarity with the audio recording can also affect the final score. Understanding the test format, scoring rules, and training methods helps participants prepare effectively and interpret their results.
What Is the PACER Test?
PACER stands for Progressive Aerobic Cardiovascular Endurance Run. It is a multistage shuttle run designed to assess aerobic fitness through progressively faster running intervals. The test is part of FITNESSGRAM, a fitness assessment program widely used in American schools. Participants run between two lines separated by either 20 meters or 15 meters, depending on the version. Each completed length counts as one lap. The required speed increases as the test progresses, and participants continue until they stop voluntarily or meet the official stopping criteria. The FITNESSGRAM PACER test provides an indirect assessment of aerobic capacity rather than a laboratory measurement of maximal oxygen uptake, or VO₂ max. FITNESSGRAM uses PACER performance and participant characteristics to estimate aerobic capacity and evaluate results against age- and sex-specific health standards. The test requires relatively little equipment and allows several students to participate simultaneously. A flat running surface, marked boundaries, appropriate footwear, and the correct audio recording are the main requirements.
How Does the PACER Test Work?
Participants begin behind one boundary line and run toward the opposite line when the recording starts. Each beep marks the time by which they must reach the next boundary. The opening pace is manageable for most participants. As the recording advances through successive levels, the intervals between beeps become shorter. Runners must gradually increase their speed to remain synchronized with the signals. The distance between the lines remains constant throughout the test. Only the required pace changes.
PACER Test Rules and Running Procedure
The standard procedure follows six steps:
- Course setup. Mark two parallel lines 15 or 20 meters apart, depending on the selected FITNESSGRAM version.
- Starting position. Participants stand behind the starting line and listen to the audio instructions.
- Running the course. At the starting signal, runners head toward the opposite boundary and reach it by the next beep.
- Changing direction. After reaching the line, they turn and run toward the opposite end.
- Maintaining the pace. Each completed shuttle counts as one lap. The required running speed increases during the test.
- Ending the test. Participants stop when they withdraw voluntarily or meet the applicable missed-line stopping rule.
Under the standard FITNESSGRAM protocol, the first failure to reach the line by the beep counts as a miss. A second miss ends the test, even if the misses occur on nonconsecutive laps. Reaching the line early does not earn extra credit. Participants must follow the recording rather than sprinting between boundaries. Administrators should record the final score according to the official protocol, including its rules for missed shuttles and voluntary withdrawal. A shuttle that was started but not completed is not automatically credited. Testing should take place on a level, non-slip surface with enough room for safe turns. Repeated braking and acceleration place additional demands on the ankles, knees, and lower-body muscles.
Understanding the Audio Beeps and Speed Increases
The audio recording establishes the timing for every shuttle. Individual beeps indicate when runners should reach the opposite line, while separate signals or announcements mark transitions between levels. The time available for each lap depends on the course length and required running speed: Lap time (seconds) = Distance (meters) ÷ Speed (km/h) × 3.6 For example, at 8.5 km/h, a 20-meter shuttle takes approximately 8.5 seconds. At 10 km/h, the same distance must be covered in 7.2 seconds. At higher speeds, runners have less time between turns and must accelerate more forcefully after each change of direction. FITNESSGRAM uses a standardized pace progression. An unrelated beep-test recording may have different starting speeds, level durations, or speed increments, making its results incompatible with official PACER scoring. The most economical approach is to reach each boundary close to the beep rather than repeatedly arriving early.
PACER Test Levels, Laps and Scoring
A PACER score represents the number of completed shuttles counted toward the final result. One trip between the marked lines counts as one lap, meaning a complete round trip consists of two laps. Scores accumulate across successive levels. Advancing farther into the recording indicates that the participant has maintained the required pace for more shuttles. A pacer test chart typically shows three figures:
- Level: The current stage of the audio recording.
- Lap: One shuttle between the two boundaries.
- Total score: The cumulative number of laps credited during the test.
The following table shows the lap distribution for the commonly used 20-meter FITNESSGRAM PACER sequence.
| Level | Laps in level | Cumulative laps | Total distance |
| 1 | 7 | 7 | 140 m |
| 2 | 8 | 15 | 300 m |
| 3 | 8 | 23 | 460 m |
| 4 | 9 | 32 | 640 m |
| 5 | 9 | 41 | 820 m |
| 6 | 10 | 51 | 1,020 m |
| 7 | 10 | 61 | 1,220 m |
| 8 | 11 | 72 | 1,440 m |
| 9 | 11 | 83 | 1,660 m |
| 10 | 11 | 94 | 1,880 m |
The scoring chart must match the audio recording used for the test. Different shuttle-run protocols may organize their levels differently. For example, a participant credited with 45 laps has completed four laps of Level 6 and covered 900 meters. The effort differs from a continuous 900-meter run because every shuttle requires deceleration, a turn, and renewed acceleration. Total running distance is calculated as:
- Distance = Completed laps × Shuttle length
Completing 50 laps on a 20-meter course represents 1,000 meters. The same number of laps on a 15-meter course represents 750 meters. When tracking pacer test laps, administrators must distinguish between attempted shuttles and those credited under the official scoring rules.
15-Meter vs 20-Meter PACER Test
FITNESSGRAM offers two PACER formats. Both follow the same general principle, but the shorter course changes how frequently participants must turn.
| Feature | 15-meter PACER | 20-meter PACER |
| Shuttle distance | 15 meters | 20 meters |
| Round-trip distance | 30 meters | 40 meters |
| Turns per kilometer | More frequent | Less frequent |
| Required space | Smaller area | Larger area |
| Audio recording | 15-meter version | 20-meter version |
| Scoring | 15-meter lap count | 20-meter lap count |
The 20-meter version is the standard format. The 15-meter alternative accommodates schools and facilities without enough space for a longer course. A shorter shuttle requires more changes of direction over the same running distance. This increases the importance of controlled braking and efficient foot placement. The 15-meter recording uses timing appropriate to its shorter course. Raw lap counts cannot be compared directly. Forty laps on a 15-meter course cover 600 meters, compared with 800 meters on a 20-meter course. Distance alone does not establish equivalent performance because the two formats have different turning demands and scoring procedures. FITNESSGRAM provides procedures for interpreting results across the formats. These are preferable to converting scores using a simple distance ratio. For reliable progress tracking, participants should use the same course length and corresponding recording at each assessment.
What Is a Good PACER Test Score?
A good PACER score depends on the participant’s age, sex, and the assessment standards being used. No single lap count represents good aerobic fitness for every student. FITNESSGRAM uses criterion-referenced standards rather than simply ranking participants against their classmates. Its Healthy Fitness Zone identifies levels of performance associated with health-related fitness criteria. Results may be classified as Healthy Fitness Zone or Needs Improvement, depending on the applicable assessment procedures. Some versions distinguish between different Needs Improvement categories. A score that meets the Healthy Fitness Zone threshold for one age group may fall below the threshold for another. Official standards also depend on the assessment version and the participant characteristics used to interpret aerobic capacity. Generic charts labeling fixed lap counts as excellent, average, or poor are therefore not always suitable for FITNESSGRAM results.
Several factors affect performance:
- Age and physical development.
- Aerobic fitness, body size, and movement efficiency change during childhood and adolescence.
- Results should be interpreted using age-appropriate standards.
- Training background.
- Students involved in running, soccer, basketball, or other physically demanding activities may be more accustomed to sustained exercise and repeated direction changes.
- Running technique.
Two participants with similar aerobic fitness can record different scores because of their pacing, turning efficiency, and ability to follow the signals. Testing conditions. Footwear, surface traction, fatigue, recent activity, and familiarity with the procedure can influence performance.
For younger children, some FITNESSGRAM assessment procedures emphasize participation rather than formal classification against health standards. Personal progress is also useful when evaluating training. An increase from 25 to 35 credited laps on the same course indicates improved PACER performance, even if the participant has not yet reached the applicable Healthy Fitness Zone threshold.
How to Train for the PACER Test
Effective PACER preparation combines aerobic conditioning, interval training, and shuttle-specific practice. Each addresses a different demand: sustained running, faster efforts, or efficient changes of direction.
Build an Aerobic Base
Easy continuous running develops the endurance needed to maintain pace through successive levels. Beginners can start with 10 to 20 minutes of comfortable running or alternate jogging with walking. As fitness improves, the running portions can gradually become longer. The pace should allow controlled breathing without requiring an all-out effort. Two or three aerobic sessions per week may provide a practical starting point, depending on age, fitness, and other activities. Cycling and swimming can supplement running, although they do not replace practice with the PACER’s specific movement pattern.
Use Intervals to Improve Running Endurance
Interval training alternates faster running with periods of easier movement or rest. It prepares runners for the increasing demands of later PACER levels. An introductory session might include:
- 5 to 10 minutes of easy jogging and dynamic warm-up exercises.
- Six repetitions of 30 seconds of controlled fast running.
- 60 to 90 seconds of walking or slow jogging between repetitions.
- Several minutes of easy movement to cool down.
Each faster interval should feel challenging without requiring an all-out sprint. Consistent technique matters more than maximum speed. As fitness improves, intervals can become longer or recovery periods shorter. Changing one variable at a time makes progression easier to manage. Experienced runners can incorporate one- to two-minute intervals at a demanding but sustainable pace.
Practice Shuttle Runs and Efficient Turns
Straight-line running does not fully prepare participants for the repeated braking and acceleration required during the PACER. Mark two lines 15 or 20 meters apart, matching the intended test. Run toward the opposite boundary, shorten the final steps, reach the line with a foot, and turn before accelerating back. Several adjustments improve efficiency. Control the approach. Shorter steps near the boundary make braking easier. Running at full speed into the turn requires greater deceleration. Maintain balance. Slightly bending the knees and hips helps stabilize the body while changing direction. Prepare for the return.
Begin rotating toward the next shuttle while slowing down, allowing a smoother transition into acceleration. Complete the distance. Every turn must satisfy the line-reaching requirement. Turning short of the boundary may invalidate the shuttle. Beginners can practice sets of four to eight controlled shuttles, resting between sets. Additional repetitions can be introduced as technique improves.
Learn to Match the Audio Pace
Practicing with the correct FITNESSGRAM recording helps runners become familiar with shuttle timing and level transitions. The aim is to reach each boundary near the signal without unnecessary bursts of speed. As the intervals shorten, running speed must increase while turns remain controlled. Practice sessions need not continue until exhaustion.
Stopping after predetermined levels allows participants to focus on timing and technique. Taking the full test occasionally can help track progress. Frequent maximal attempts are unnecessary when regular training already provides sufficient conditioning.
Include Strength Training and Recovery
Lower-body strength supports the braking, turning, and acceleration involved in shuttle running. Squats, lunges, step-ups, and calf raises develop muscles used during these movements. Bodyweight variations are suitable for many beginners when performed with controlled technique. Single-leg balance exercises can also improve stability.
Demanding workouts should be separated by adequate recovery. Sleep, hydration, and regular meals support training adaptations. A maximal fitness assessment should be postponed when a participant is ill, injured, or experiencing unusual fatigue.
Sample Weekly PACER Training Schedule
A weekly training plan can balance aerobic running, shuttle practice, strength work, and recovery.
| Day | Training focus | Example session |
| Monday | Aerobic endurance | 15–25 minutes of easy running |
| Tuesday | Shuttle technique | 4–6 short sets of controlled shuttles |
| Wednesday | Recovery | Rest or comfortable walking |
| Thursday | Intervals | 6 × 30 seconds fast, with easy recovery |
| Friday | Strength | Bodyweight squats, lunges, and calf raises |
| Saturday | PACER practice | Short audio-paced session below maximal effort |
| Sunday | Recovery | Rest or light activity |
This schedule is intended as an example for participants already comfortable with regular physical activity. Beginners may benefit from combining activities into three or four training days. The appropriate workload depends on age, experience, fitness, and participation in other sports.
Common PACER Test Mistakes and How to Avoid Them
Small technical errors become costly when repeated over dozens of shuttles. Most can be addressed through practice and familiarity with the test procedure.
Starting Too Fast
Racing ahead of the recording during the opening levels wastes energy without improving the score. Better approach: Maintain a controlled pace and arrive at each boundary close to the required signal.
Turning Too Abruptly
Sudden braking and awkward foot placement make acceleration out of the turn more difficult. Better approach: Shorten the final steps, maintain balance, and redirect the body smoothly.
Failing to Reach the Line
Turning before reaching the required boundary can result in a missed shuttle, even when the runner remains close to the audio pace. Better approach: Practice reaching the line consistently without running unnecessarily beyond it.
Misunderstanding the Beeps
Participants unfamiliar with the recording may confuse level announcements with stopping instructions. Better approach: Listen to the recording before testing and learn how it signals each faster level.
Counting Round Trips as Single Laps
A round trip contains two shuttles. Counting it as one lap produces an incorrect total. Better approach: Record each credited length separately using the appropriate FITNESSGRAM scoring sheet.
Skipping the Warm-Up
Beginning a demanding running test without preparation can reduce readiness for faster stages. Better approach: Warm up with easy jogging, dynamic leg movements, and a few controlled accelerations.
Using the Wrong Audio Recording
An unrelated beep-test track may use a different pace progression, even when the course distance is identical. Better approach: Match the recording, course length, and scoring sheet to the same FITNESSGRAM protocol.
FAQ
How many laps are in the PACER test?
The PACER does not have a fixed finishing lap for ordinary participants. Runners continue through progressively faster levels until they withdraw or meet the stopping criteria. The number of available shuttles depends on the recording.
Is the PACER test the same as the beep test?
The PACER is a type of multistage shuttle run commonly called a beep test. However, different protocols may use different starting speeds, level durations, and scoring procedures. Results are comparable only when the testing protocols are compatible.
Does the PACER test measure VO₂ max?
The PACER provides performance data that can be used to estimate aerobic capacity, including VO₂ max. It does not directly measure oxygen consumption. Direct testing requires specialized equipment that analyzes respiratory gases during exercise.
Can PACER test scores improve in a few weeks?
Improvement is possible within several weeks, particularly for beginners. Better pacing, efficient turns, and familiarity with the recording may produce early gains. Larger improvements in aerobic endurance generally require consistent training over a longer period.
How should a runner breathe during the PACER test?
Breathing should remain natural and rhythmic. As running intensity increases, breathing becomes faster and deeper. Forcing an unusually slow breathing pattern can interfere with performance. Maintaining an appropriate running pace is more useful than following a rigid number of breaths per stride.
What happens after missing a PACER beep?
Under the standard FITNESSGRAM procedure, the first failure to reach the line on time counts as a miss. A second miss ends the test, even if the misses are not consecutive. The final lap count should follow the official scoring instructions.